
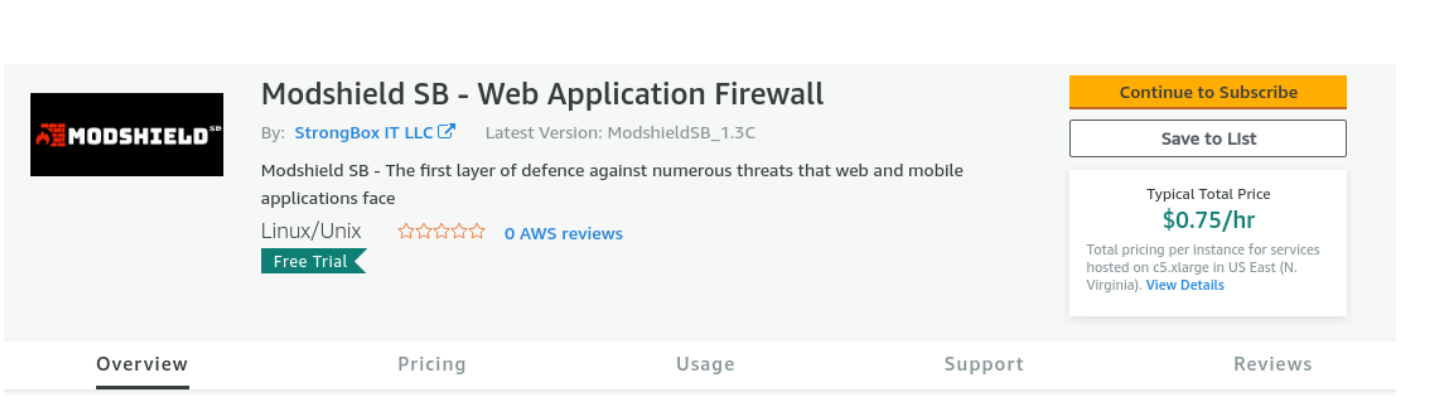
Step No: 1 Visit the marketplace page of the version that better suits your needs (Cloud / BYOL). Click on “Continue to Subscribe” button
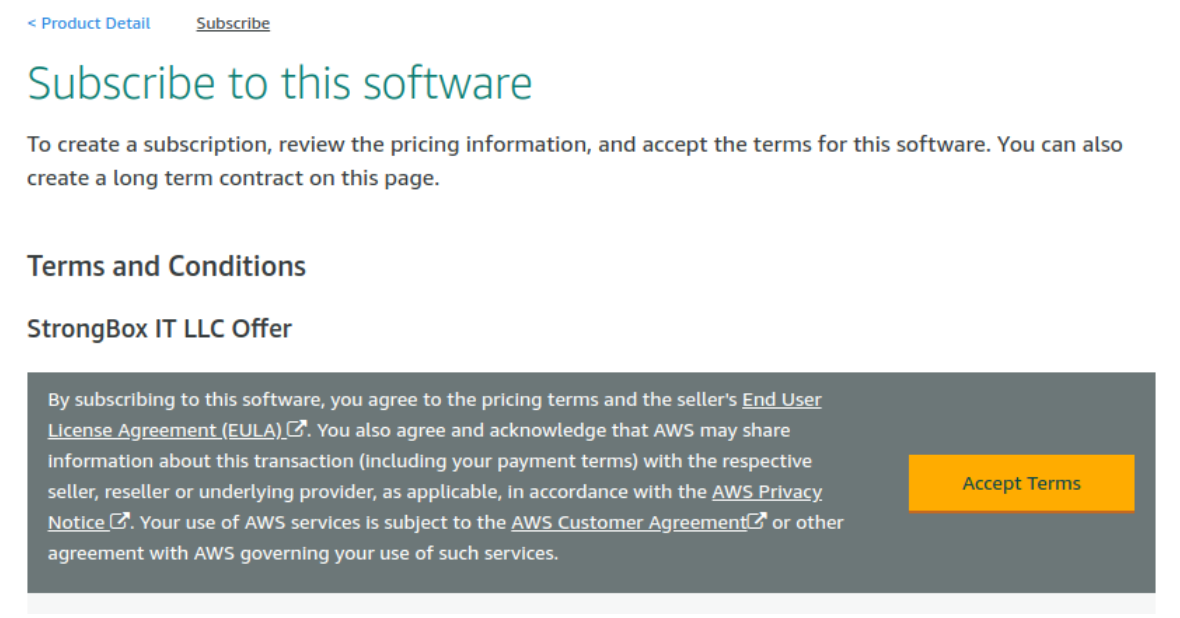
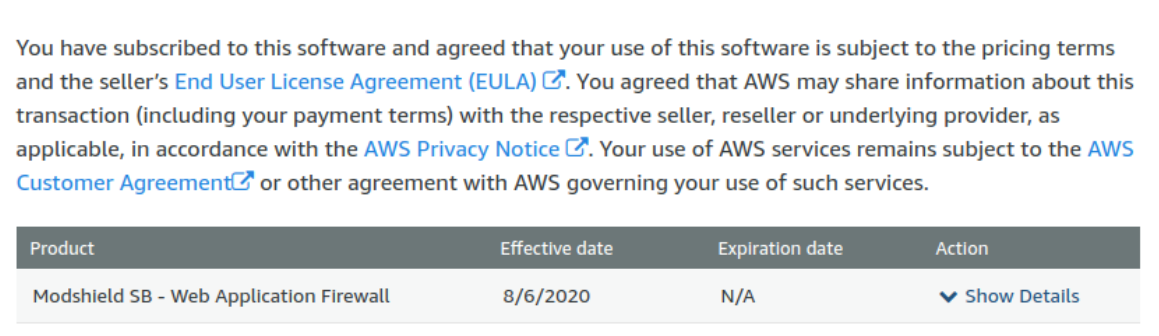
Step No: 2 Read and confirm that you accept the End User Licence Agreement (EULA)
Step No: 3 You should see the status as “Pending” for a while when AWS processes your request, which should eventually change to the date when you accepted the EULA
Step No: 4 Click on “Continue to Configuration” button on top right to configure your instance

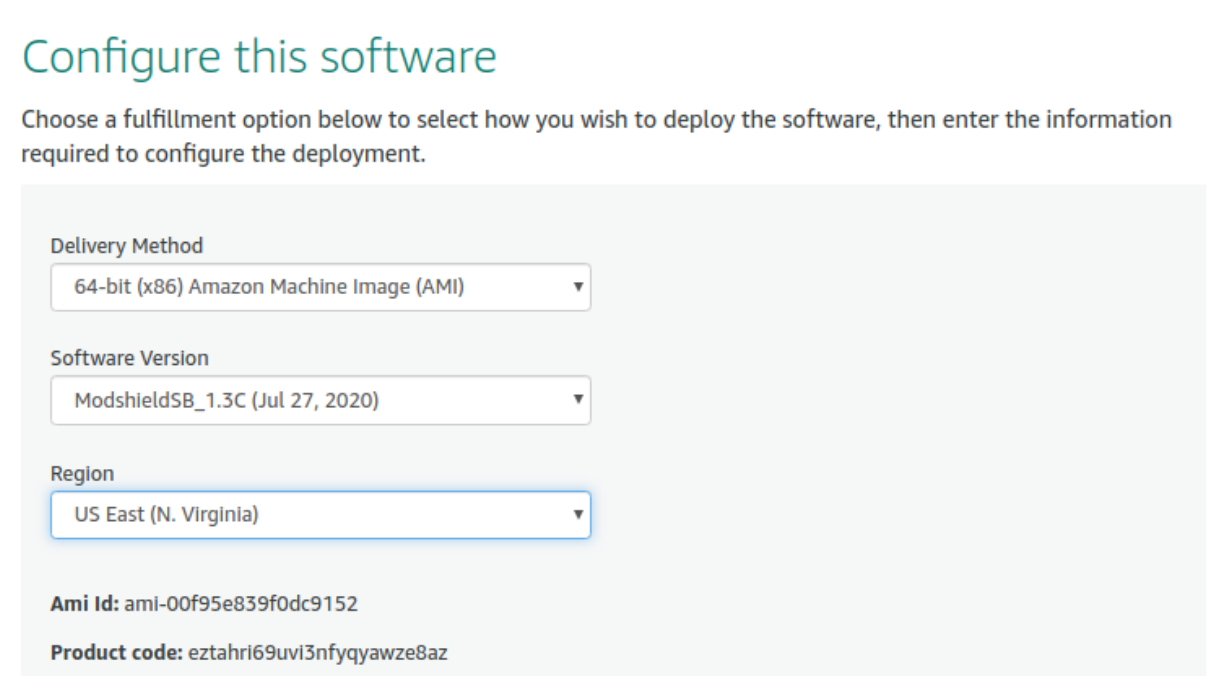
Step No: 5 Confirm the Modshield SB version and Region that you want the instance to be deployed, and click the “Continue to Launch” button
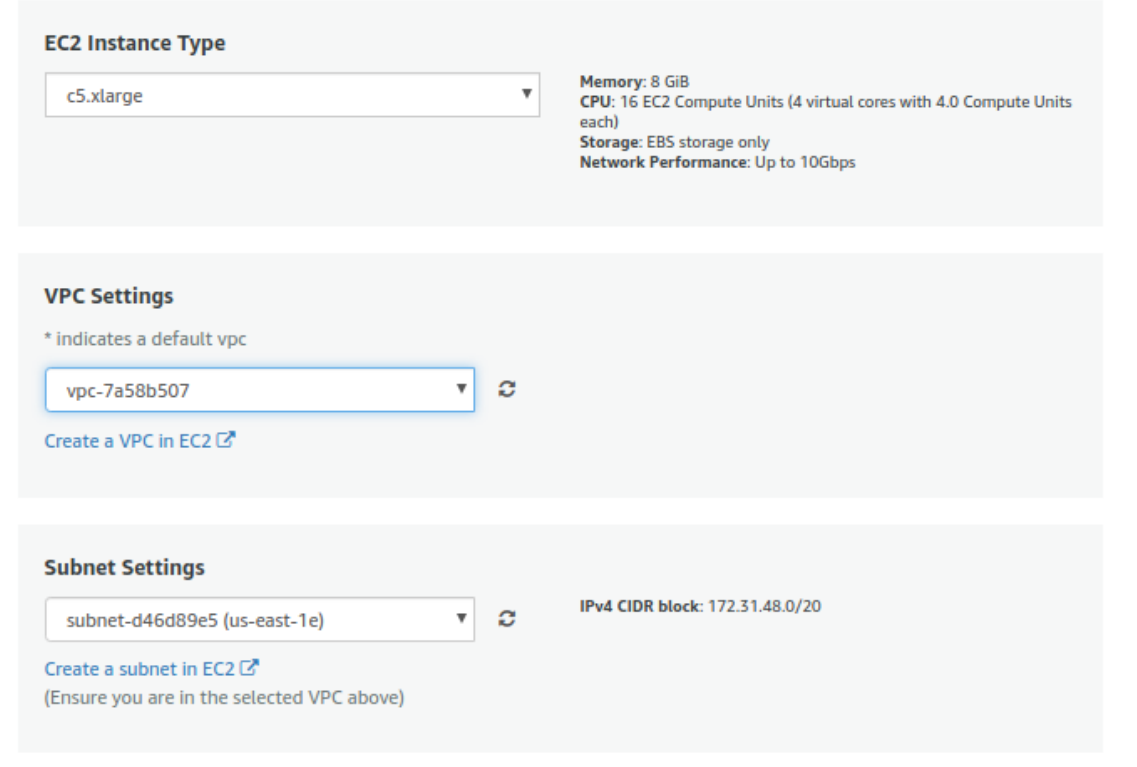
Step No: 6 Confirm the Instance Type, VPC, and subnet settings on the following page as per your needs, or you can use the recommended defaults
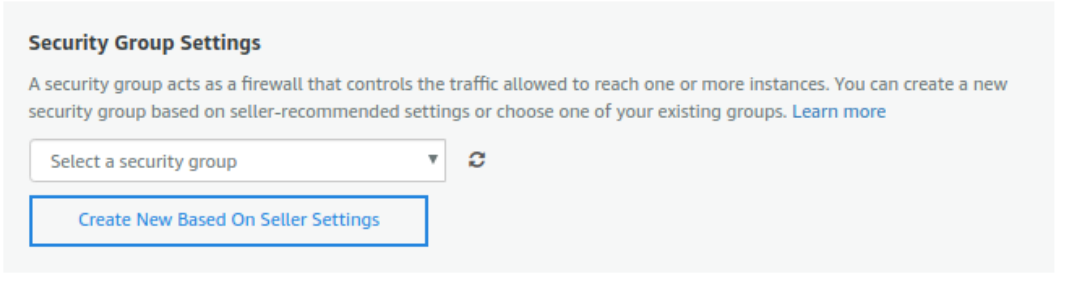
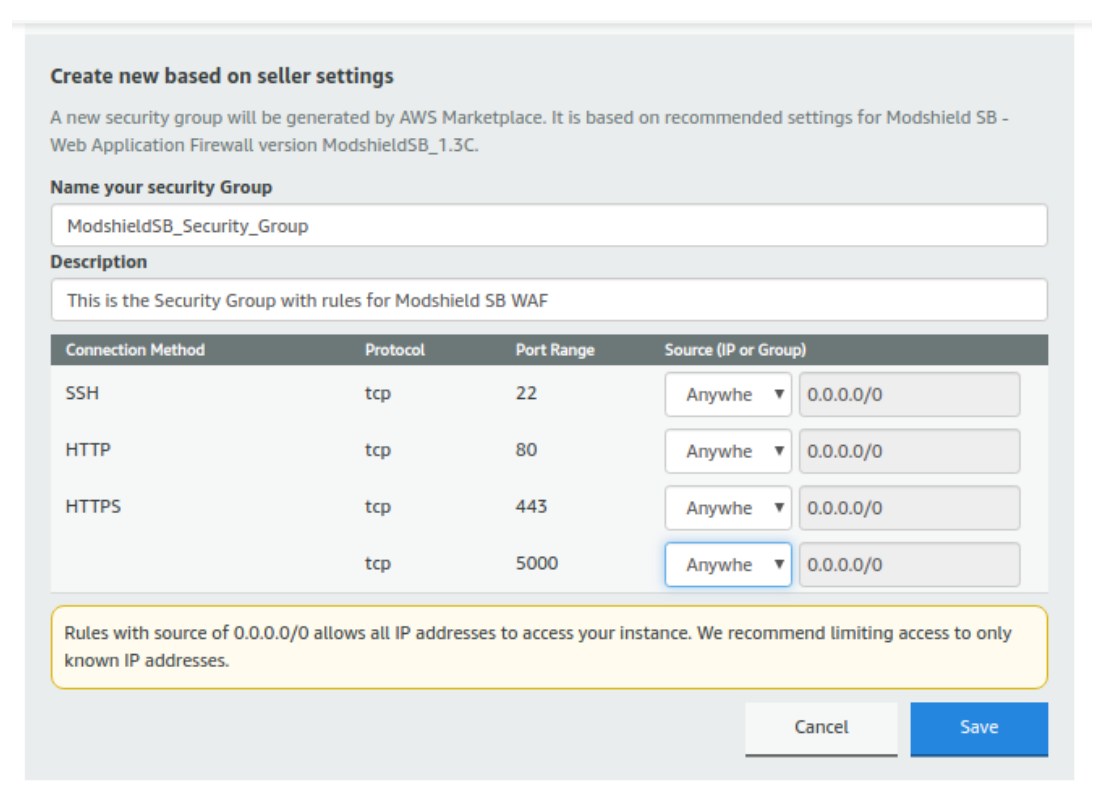
Step No: 7 Since Modshield SB requires ports 22,80,443,5000 open for access to administrative panel and normal operations, you can either click on “Create New Based on Seller Settings” to pre-populate the security group, or configure a new security group as per your requirements
Step No: 8 Enter name and description for the new security group, and click on “Save” Button. You can also restrict access to the administrative panel by allowing access only from a particular IP or range of IPs by modifying the Source IP fields at this step
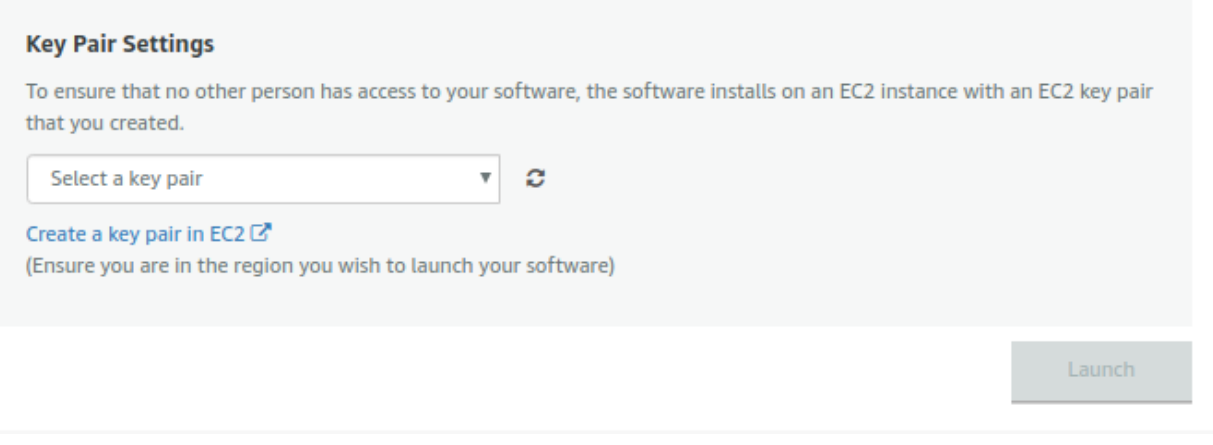
Step No: 9 Create keypair for the new instance by selecting the “Create new keypair in EC2” link which takes you to the Keypair section in EC2
Step No: 10 Click on “Create new keypair” and give suitable name
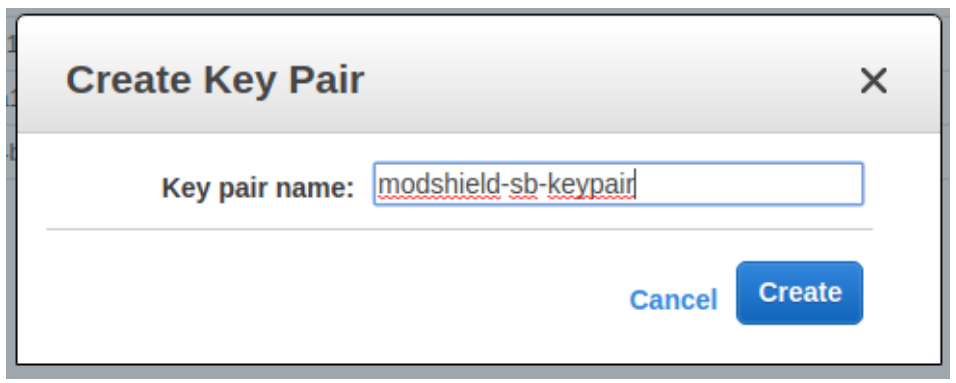
Step No: 11 Once you click on “Create” button in the previous step, save the generated keypair file in PEM format to a safe and secure location
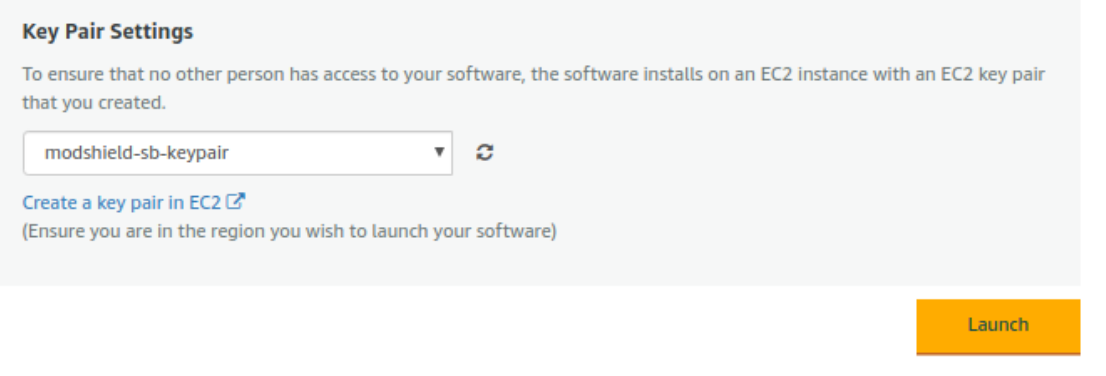
Click the button with the refresh symbol, and select the newly generated keypair from the list. Click on “Launch” button to start your instance
Your instance should now be deployed to your EC2 console
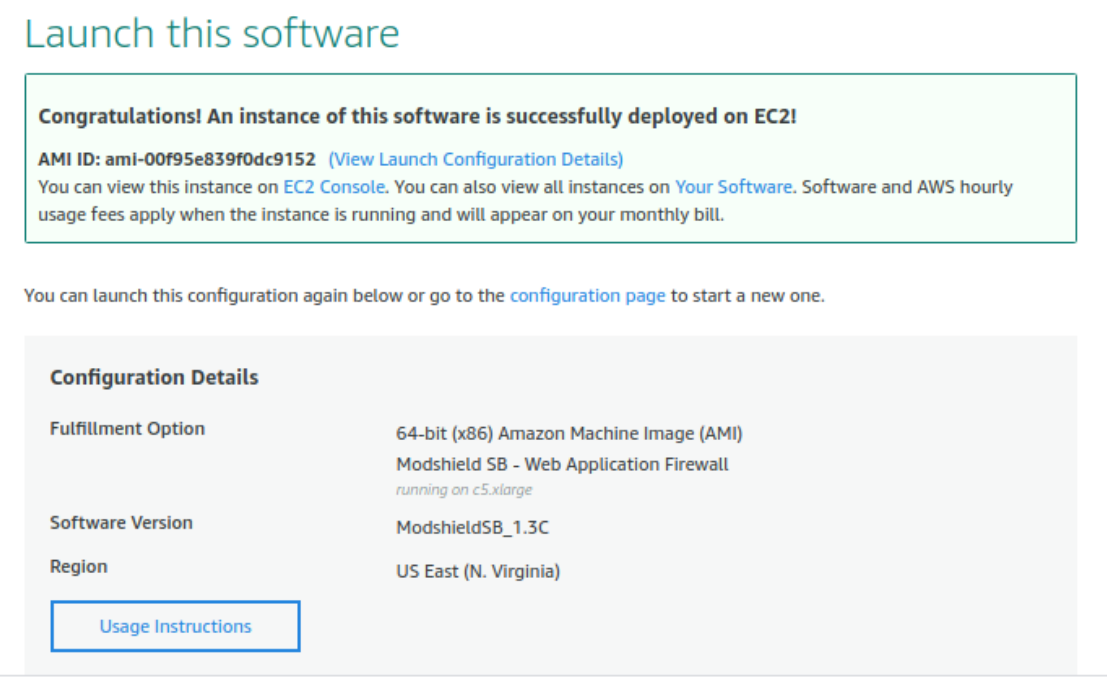
In the next section, we will check on accessing the dashboard, and configuring various domains and related settings
Accessing dashboard
Click on the “EC2 Console” link in previous step to take you directly to the page where your instance is running
Note the Instance ID (which will be the initial password), and Public IP of the WAF instance
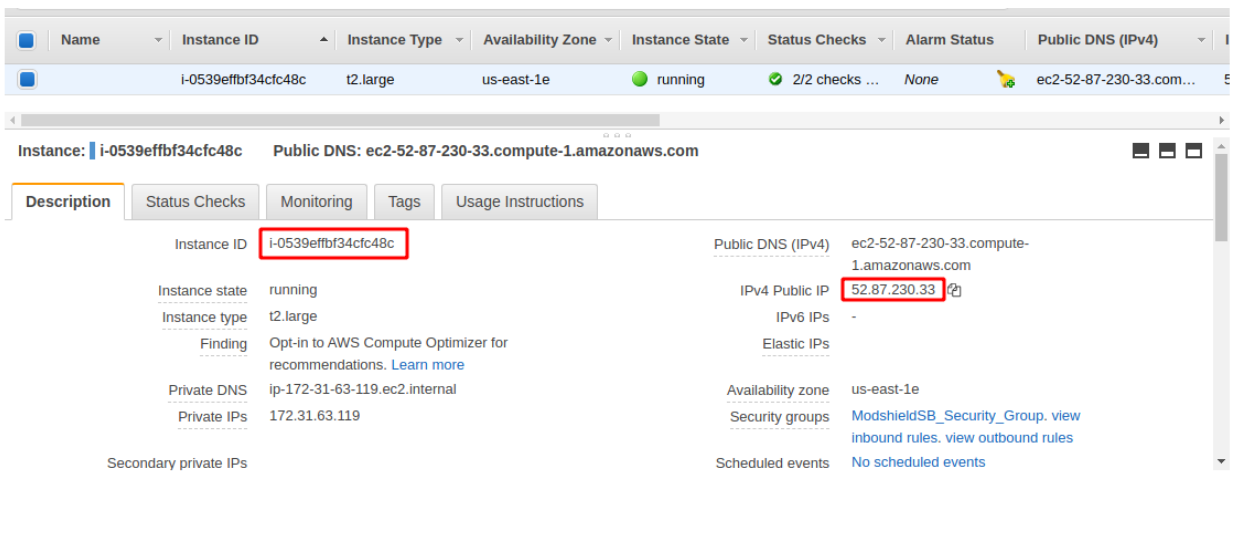
Visit http://<Public IP>:5000/modshieldsb_login to access the administrative panel
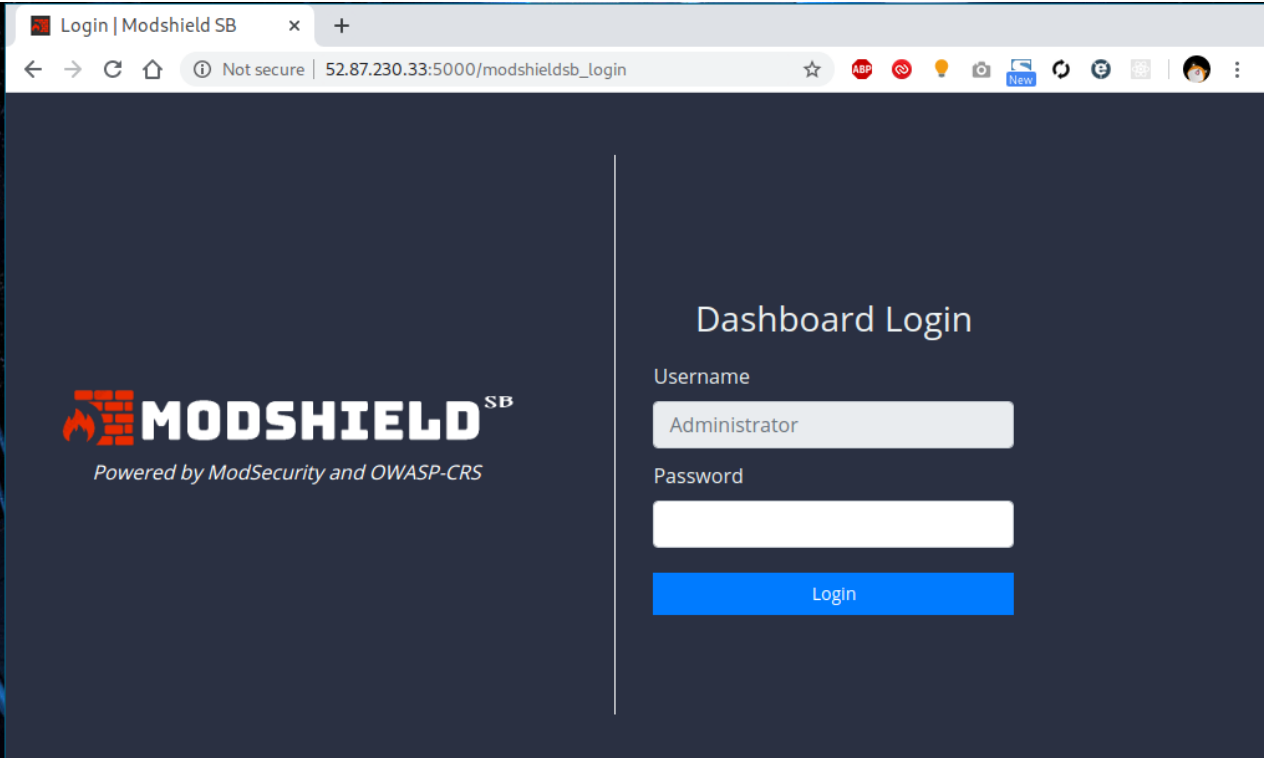
Enter your instance ID in the password field to login
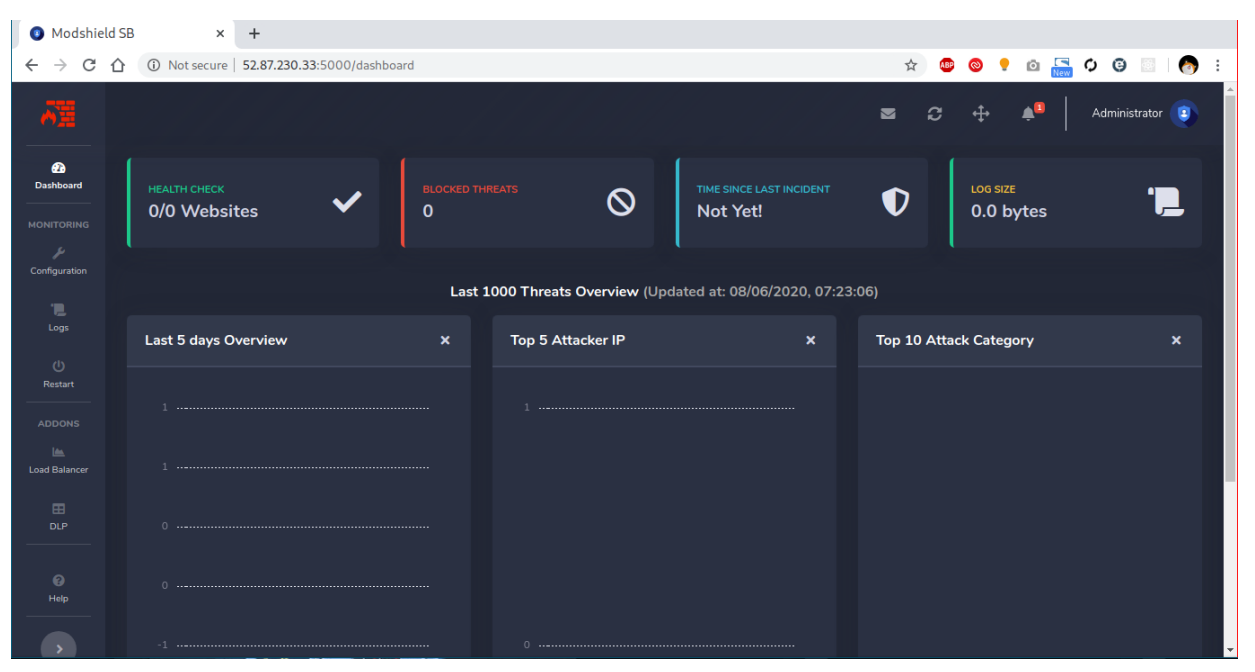
You should now be greeted with the empty dashboard page as below