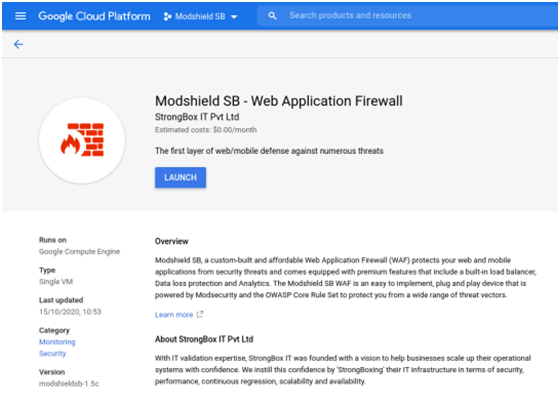
Step 1:Open the GCP Marketplace listing page that suits your licensing model (Cloud / BYOL), and click on the Launch button.
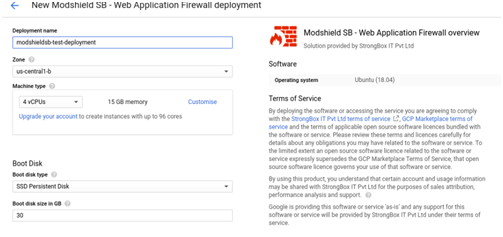
Step 2: Provide a suitable instance name for your new deployment. Change the Deployment Zone and Machine Type if required, while it’s recommended to use the deployment template defaults. Disk Size can be increased if logs are to be rotated less frequently or in systems requiring high traffic
Step 3:Click on the Deploy button once all the settings are finalized
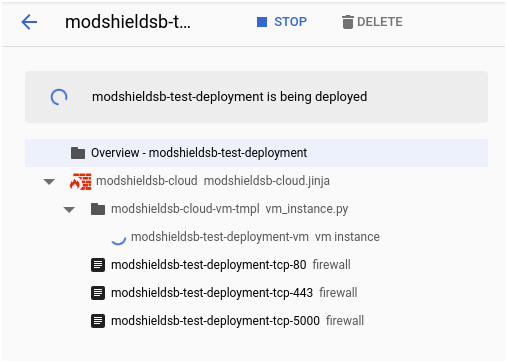
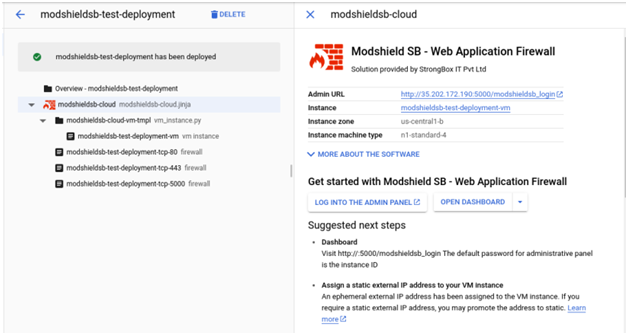
Step 4:Select the deployed package overview link in the left pane and open the Admin Panel URL from the right pane to launch the administrative console.
 stance
Accessing dashboard
Once your new instance is deployed, copy the Instance ID, which would be default password for your Modshield SB instance
Visit http://<Public IP>:5000/modshieldsb_login to access the administrative panel
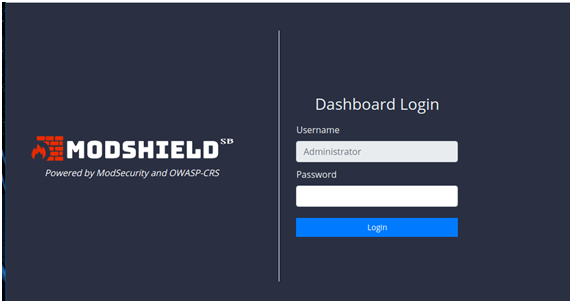
Enter your GCP Instance ID in the password field to login
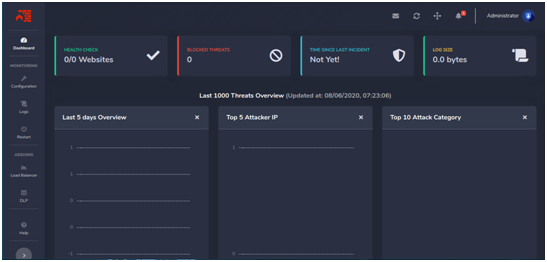
You should now be greeted with the empty dashboard page as follows
Adding a Domain to Modshield SB
Step No: 1 To add a domain, login to your Modshield instance.
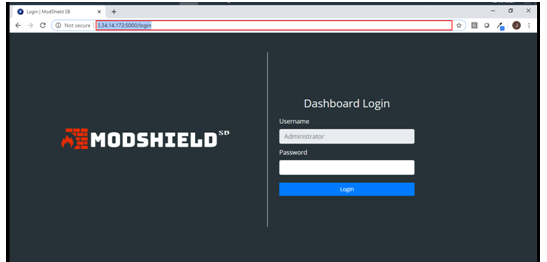
Step No: 2 Based on your implementation, this could be a VM or a cloud instance
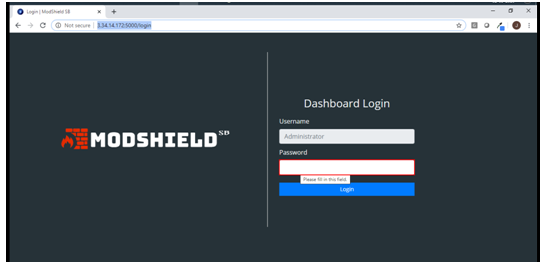
Step No: 3 Before you begin, configure the DNS for your domain to point to the Modshield SB IP address
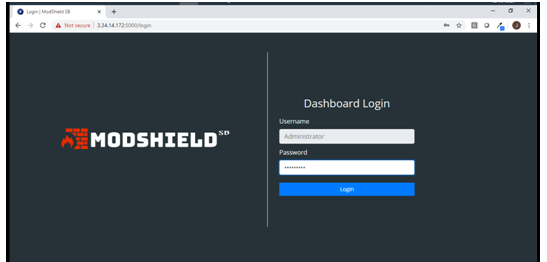
Step No: 4 Enter your Modshield password and login
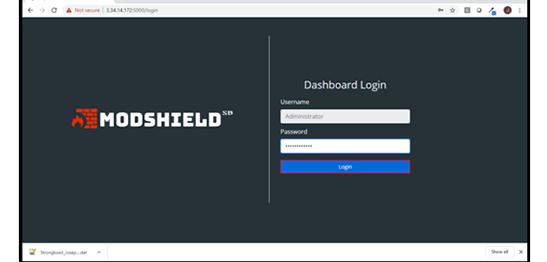
Step No: 5 This dashboard will be blank if you are configuring your first website or application
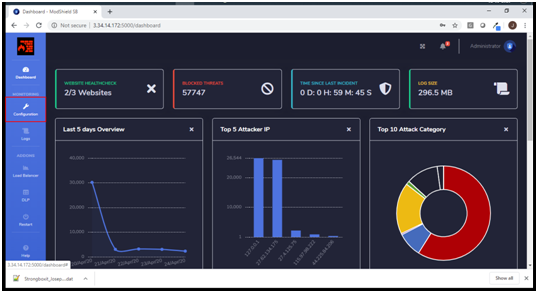
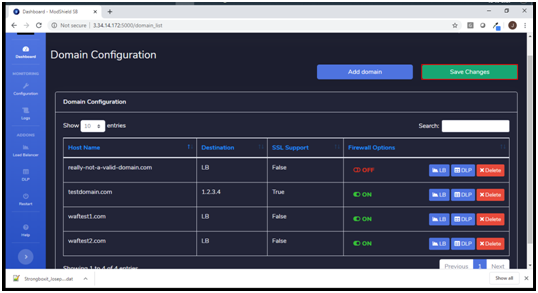
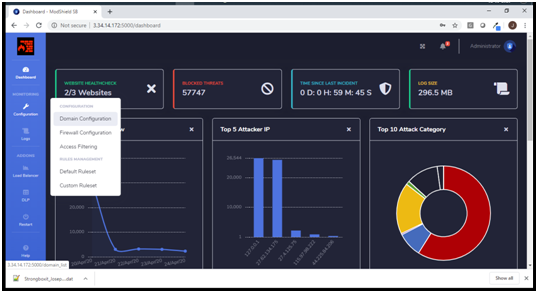
Step No: 6 To add your domain to Modshield, open the domain configuration option from the configuration menu
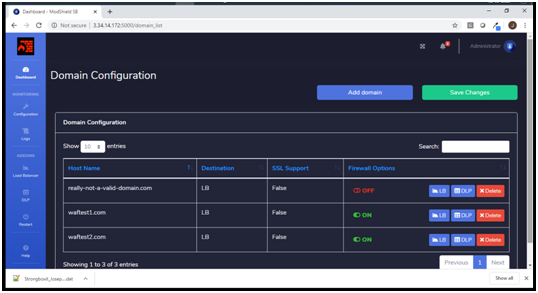
Step No: 7 In this case, there are a few domains already added to Modshield with different configurations
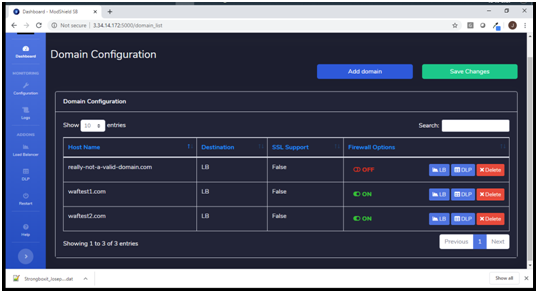
Step No: 8 Choose the Add domain option to proceed. This will open up a dialog box to aid the configuration
Step No: 9 Enter your domain name in the Host Name.
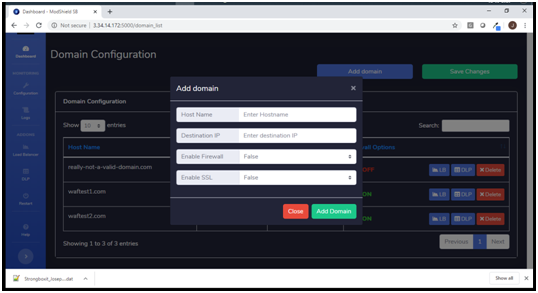
Step No: 10 Add the IP address in which the application or website is hosted
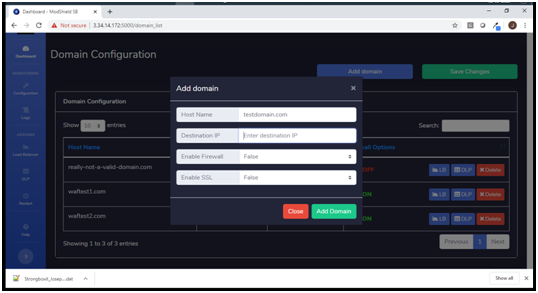
Step No: 11 Enabling Firewall will turn on protection for your domain. You can also choose to turn this on later
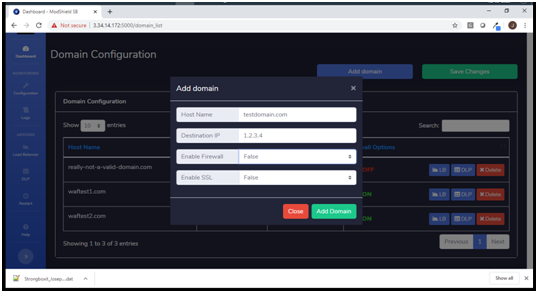
Step No: 12 If you are running a HTTP domain, click on Add Domain to complete the configuration
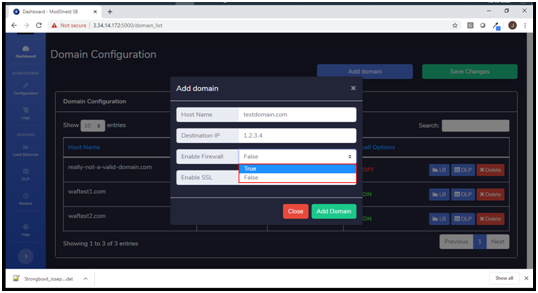
Step No: 13 If you are running an HTTPS site or application, turn this option to True.
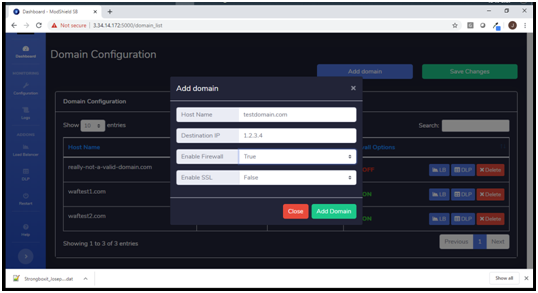
Step No: 14 You can configure the SSL for your site to ensure secure traffic to and from your site
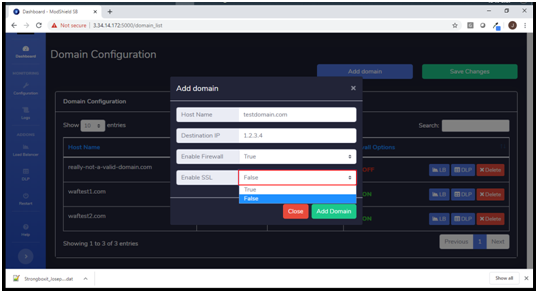
Step No: 15 If you are not using SSL, leave the SSL option as False. Click Add Domain to complete the setup
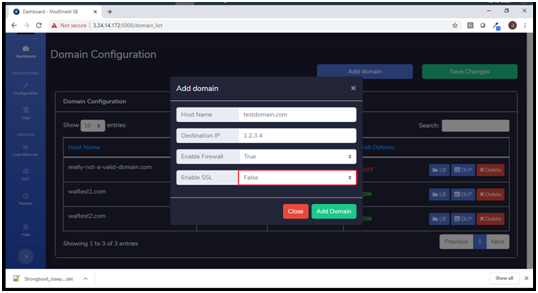
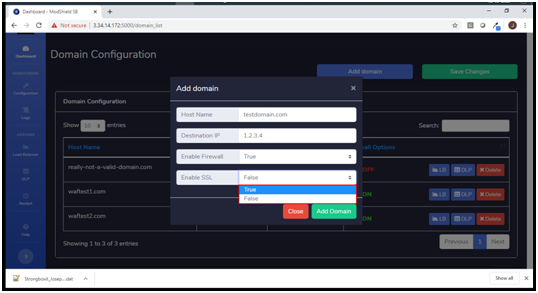
Step No: 16 While choosing True, please have your certificate information handy
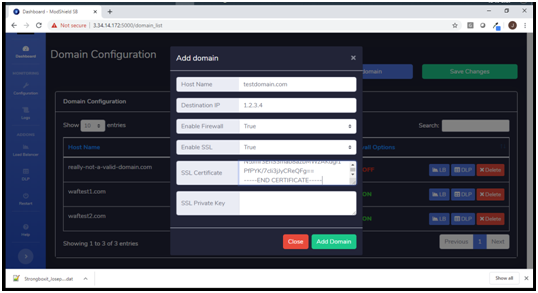
Step No: 17 These two fields will contain information about your certificate. Copy and Paste the Certificate
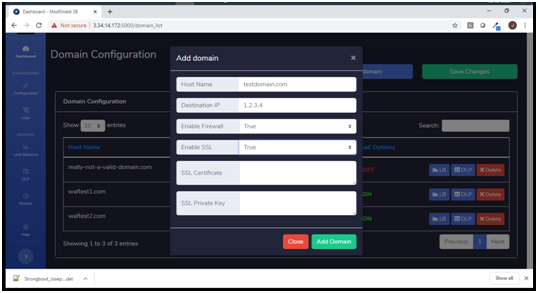
Step No: 18 In your certificate file, you will find this section
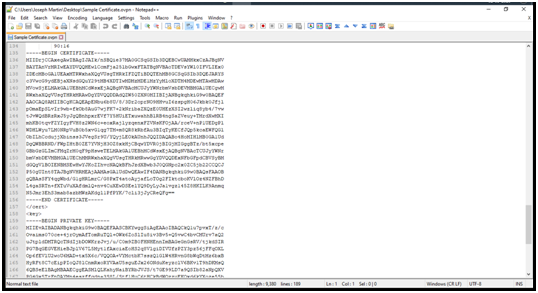
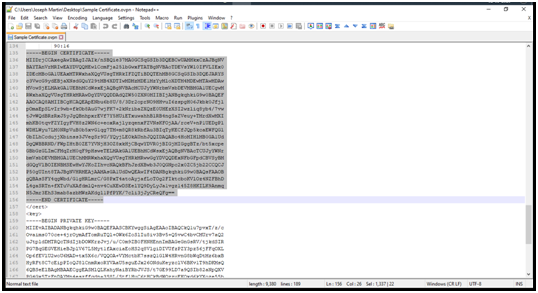
Step No: 19 Copy this section from Begin Certificate to End Certificate
Step No: 20 and paste it in the SSL Certificate column
Step No: 21 You will also be required to enter the Private key that your certificate uses
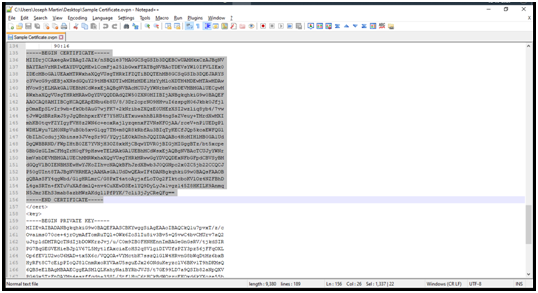
Step No: 22 In the same certificate file, copy the Private key section
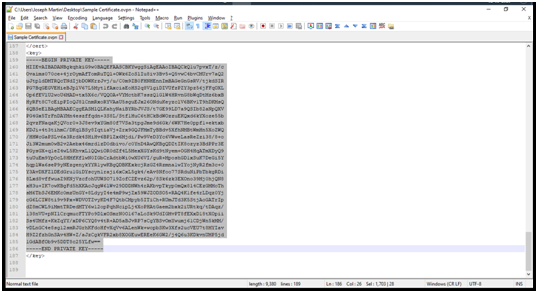
Step No: 23 Paste it in the SSL private key Column. Click on Add Domain to complete the configuration
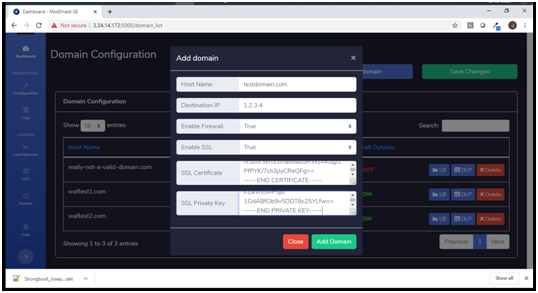
Step No: 24 You can see that the domain is now added to the list of domains that Modshield protect
